Quick Start Guide
Get up and running with KopplaHQ in just a few minutes. This guide covers the essential steps to start creating HIPAA-compliant content for mental health practices.
Quick Start Guide
Welcome to KopplaHQ! This guide walks through account setup and the first steps to creating AI-powered marketing content for mental health practices.
Step 1: Complete Your Practice Profile
When first logging into KopplaHQ, the Dashboard displays a "Welcome to KopplaHQ!" banner outlining four key steps. Start by clicking "Setup Profile":
Basic Information
- Personal Details: Add first and last name
- Practice Info: Enter website URL and location (postal code, city, state)
- Contact: Email is automatically populated from registration
Specialties & Therapy Types
- Clinical Specialties
- Click "Edit" to open the specialties modal
- Select up to 10 therapy specialties (e.g., Anxiety, Depression, Trauma and PTSD)
- Mark the top 3 as "primary" by clicking the star icon
- Examples: Relationship Issues, Self Esteem, Life Transitions, Women's Issues
- Types of Therapy
- Click "Edit" to open the therapy types modal
- Choose up to 10 therapeutic approaches
- Mark the primary 3 approaches (e.g., Attachment-based, Relational, Emotionally Focused)
- Examples: Psychodynamic, Trauma Focused, Person-Centered, Family Systems
These selections personalize AI content generation to match the practice's unique focus and voice.
Step 2: Set Up Industry Insights
Stay current with mental health industry news directly in the Dashboard:
- Navigate to Industry Insights
- Go to Profile → Industry Insights tab
- Curated RSS feeds from trusted sources like APA, Psychology Today, and NAMI appear here
- Enable News Sources
- All sources are off by default for a clean start
- Toggle individual sources on/off based on interests
- Or click "Enable All Sources" for comprehensive coverage
- Preview the Feed
- Once enabled, preview recent articles in the Profile tab
- Articles automatically populate the main Dashboard
- Each article shows title, source, publication date, and brief snippet
- Customize the Feed
- Return anytime to adjust which sources to follow
- Use "All On" or "All Off" buttons for quick changes
Step 3: Connect Tools
Supercharge workflow by connecting external services:
Google Search Console Integration
- Navigate to Integrations
- Go to the Integrations page from the sidebar
- Or access via Profile → Account → Connected Services
- Connect Google Search Console
- Click "Connect" on the Google Search Console card
- The browser redirects to Google's secure OAuth screen
- Grant permission for "View Search Console data" (read-only access)
- KopplaHQ never sees Google passwords
- Complete Setup
- After authorization, the browser returns to KopplaHQ
- Select the website property from the dropdown
- Click "Save" to complete the integration
- If no properties are found, verify the site in Google Search Console first
Other Available Integrations
- WordPress: Connect the practice website for seamless content publishing
- LinkedIn: Share content directly to professional networks
- Additional services: More integrations available on the main Integrations page
Step 4: Research Credible Sources
Use the Research Library to find peer-reviewed articles for authoritative content:
Accessing the Research Library
- Navigate to Research Library
- Access from the main navigation or Essential Workflow Tools
- Powered by PubMed API for academic credibility
- Search for Articles
- Enter keywords in the main search field
- Use filters to refine results:
- Year Range: Limit to recent publications
- Free Full Text Only: Find openly accessible articles
- MeSH Terms: Add Medical Subject Headings for precision
- Review and Save Articles
- Click the document icon to preview abstracts
- Use the star icon to save articles to "My Library"
- Copy citations with one click
- Open directly in PubMed or via DOI
Suggested Searches
- Try pre-populated queries to get started
- Examples: "anxiety management techniques," "therapy effectiveness studies"
- Build evidence-based content with credible research
Step 5: Generate First Content
With profile setup complete, insights enabled, and tools connected, practitioners are ready to create:
Using the Content Studio
- Navigate to Content Creation
- Access via the "Create" step in the Dashboard workflow
- Or go directly to the Content Studio
- Generate AI-Powered Content
- Profile specialties automatically personalize AI suggestions
- Choose content types based on practice needs
- The AI understands therapeutic approaches and target audiences
- Leverage Research
- Reference articles saved in the Research Library
- Build evidence-based content with credible sources
- Cite peer-reviewed research to establish professional authority
Content Planning & Publishing
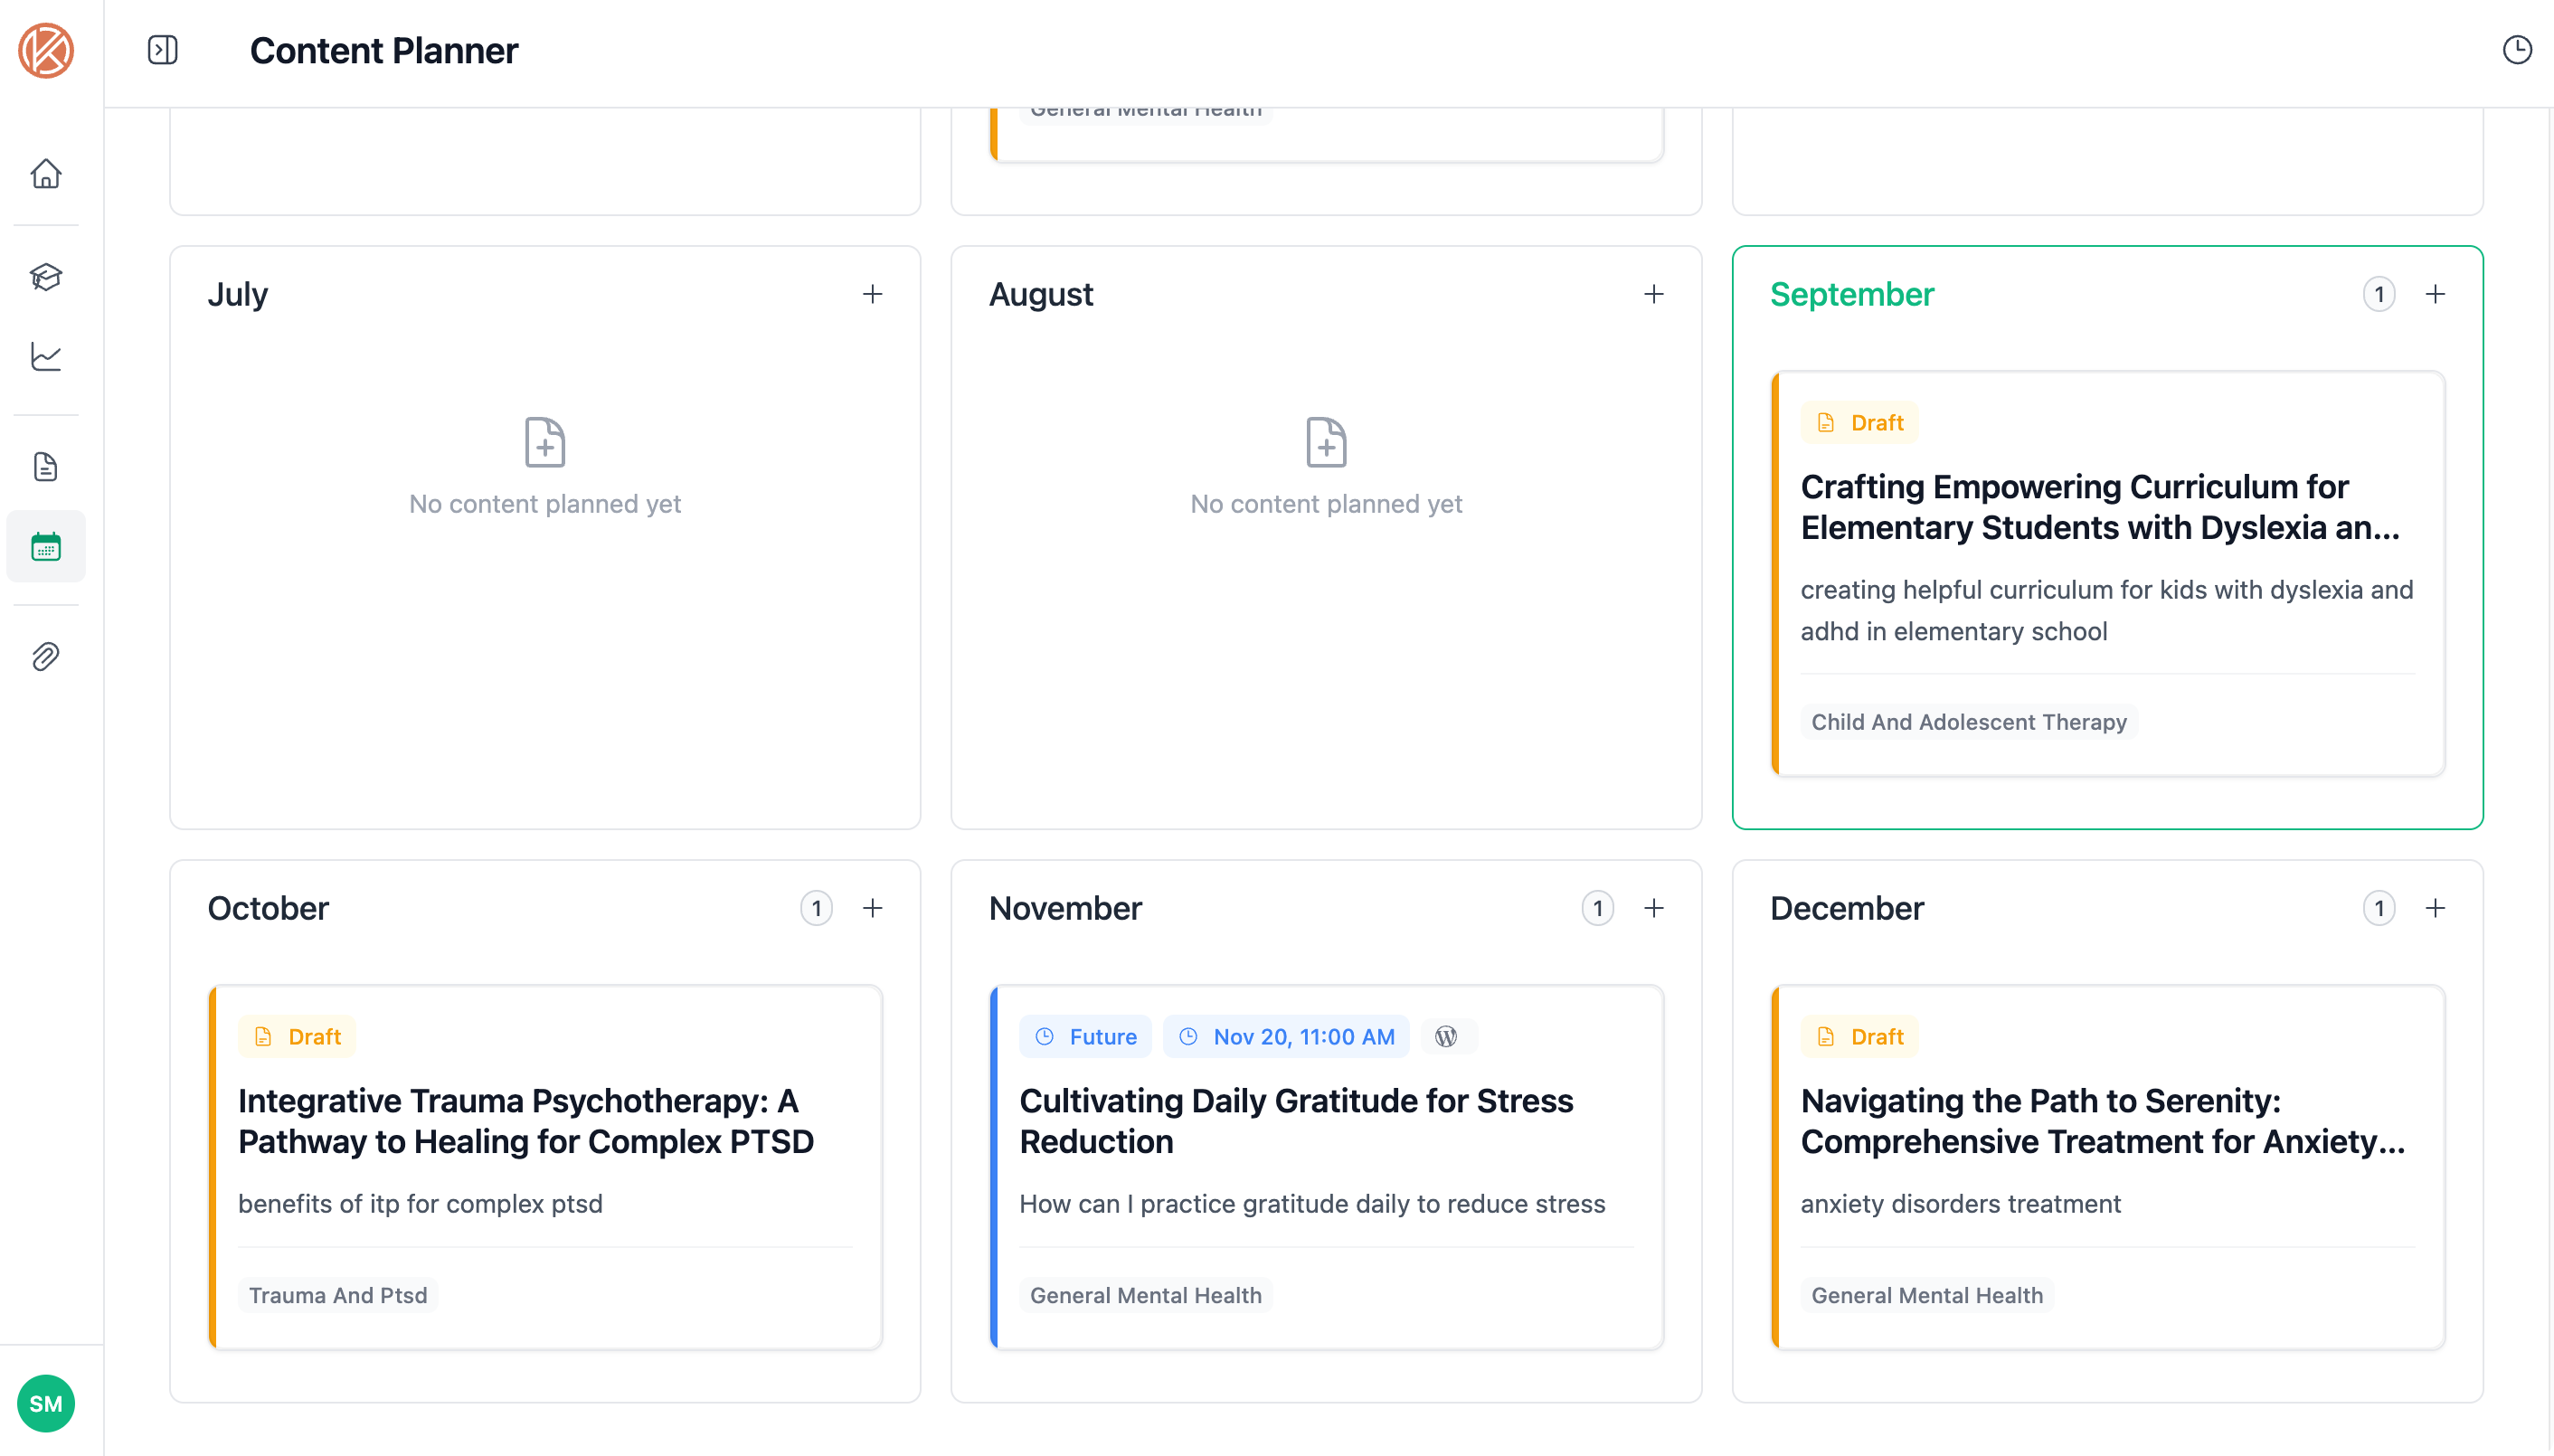
- Use the Content Planner
- Schedule content across connected platforms
- Plan campaigns around industry insights
- Coordinate with therapeutic calendar and specialties
- Publish Seamlessly
- Push directly to WordPress if connected
- Share to LinkedIn through the integration
- Track performance with Google Search Console data